
Installing PVC pipe and fittings might seem daunting, but with the right guidance, we can navigate this process together. At LESSO America, we believe in empowering our users with practical knowledge to ensure a successful project. Here’s a step-by-step guide to installing PVC pipe and fittings, focusing on tips, adhesives, and maintenance.

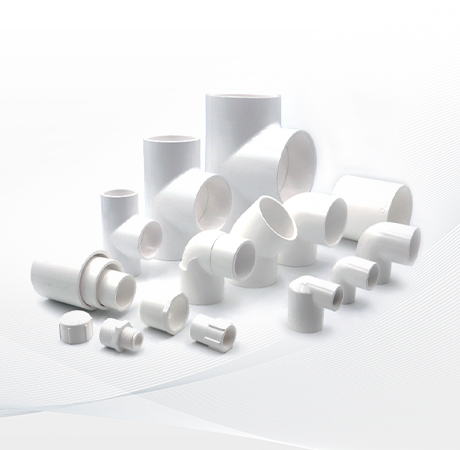
Before we dive into the installation, it's essential to understand what PVC pipe and fittings are. PVC (Polyvinyl Chloride) is a durable and versatile plastic widely used in plumbing, drainage, and irrigation systems. The fittings come in various shapes and sizes, allowing us to connect pipes at different angles and junctions.
To start our installation, we need the following tools and materials:
PVC pipes and fittings
PVC cement and primer
Measuring tape
Pipe cutter or saw
Deburring tool or sandpaper
Safety goggles and gloves
1. Measure and Cut
Accurate measurements are crucial. We should carefully measure the lengths of pipe needed for our project. Using a pipe cutter or saw, we can cut the PVC pipe to the required dimensions. After cutting, it’s essential to deburr the edges to prevent any snags or leaks.
2. Dry Fit the Components
Before applying any adhesives, we recommend dry-fitting all pieces. This allows us to ensure that everything aligns correctly and fits as intended. If adjustments are needed, now is the time to make them.
3. Apply Primer
Once we're satisfied with the fit, we can move on to priming. Using a PVC primer, we should apply a thin layer to both the pipe and the fitting. This step is critical as it cleans and softens the material, promoting a better bond.
4. Use PVC Cement
After the primer has dried for a minute, we can apply the PVC cement. It's important to use an even coat on both the pipe and the fitting. We need to work quickly, as PVC cement sets rapidly.
5. Assemble the Fitting
With the cement applied, we can push the pipe into the fitting, giving it a slight twist to ensure an even distribution of the cement. We should hold the pieces together for about 30 seconds to allow the initial bond to form.
6. Allow to Cure
After assembling, it's vital to let the joint cure for at least 2 hours before testing for leaks. For best results, we recommend waiting 24 hours before applying any pressure to the system.
Maintaining PVC pipes is relatively straightforward. Here are some tips we can follow:
Regular Inspections: Check for any visible signs of wear or damage, especially at joints and fittings.
Cleaning: Use a mild detergent and water to clean the exterior of the pipes. Avoid harsh chemicals that can degrade the material.
Temperature Considerations: PVC can become brittle in extreme cold. We should ensure that our pipes are insulated in colder climates to prevent cracking.
Installing PVC pipe and fittings doesn't have to be a complicated process. By following these step-by-step instructions, using the right tools, and adhering to maintenance tips, we can ensure a reliable plumbing system. At LESSO America, we are committed to providing high-quality products that stand the test of time. With a little patience and care, we can achieve a leak-free installation that serves us well for years to come.
Tel
(951) 547-6888
Fax
(951) 547-6886
Address
1010 Railroad Street, Corona, CA 92882
Copyright © 2026 CHINA LESSO.ICP No.1302348 Cookie-Policy


TOP